Table of content
- MongoDB Database
- Setting up MongoDB
- Connecting Node.js project with MongoDB
- What are schema and models?
- Code
- Summary
MongoDB Database?
- MongoDB is a no-SQL database.
- If you are from an SQL background, a collection represents a table of rows and columns.
- A document represents a row in a table.
- Each document is formatted in key-value format just like a JavaScript object.
Setting up MongoDB
- MongoDB has a cloud solution known as MongoDB Atlas platform. You can create a free shared cluster for your database.
- Follow instructions on how to register a new Atlas account here. You can use email, GitHub account, or google account.
- Then follow on how to deploy a free shared cluster here (Select Atlas UI tab for clear guidance).
Add a new database user
- If you have not created a database user, follow the below steps.
- From the sidebar, under Security, select Database Access.

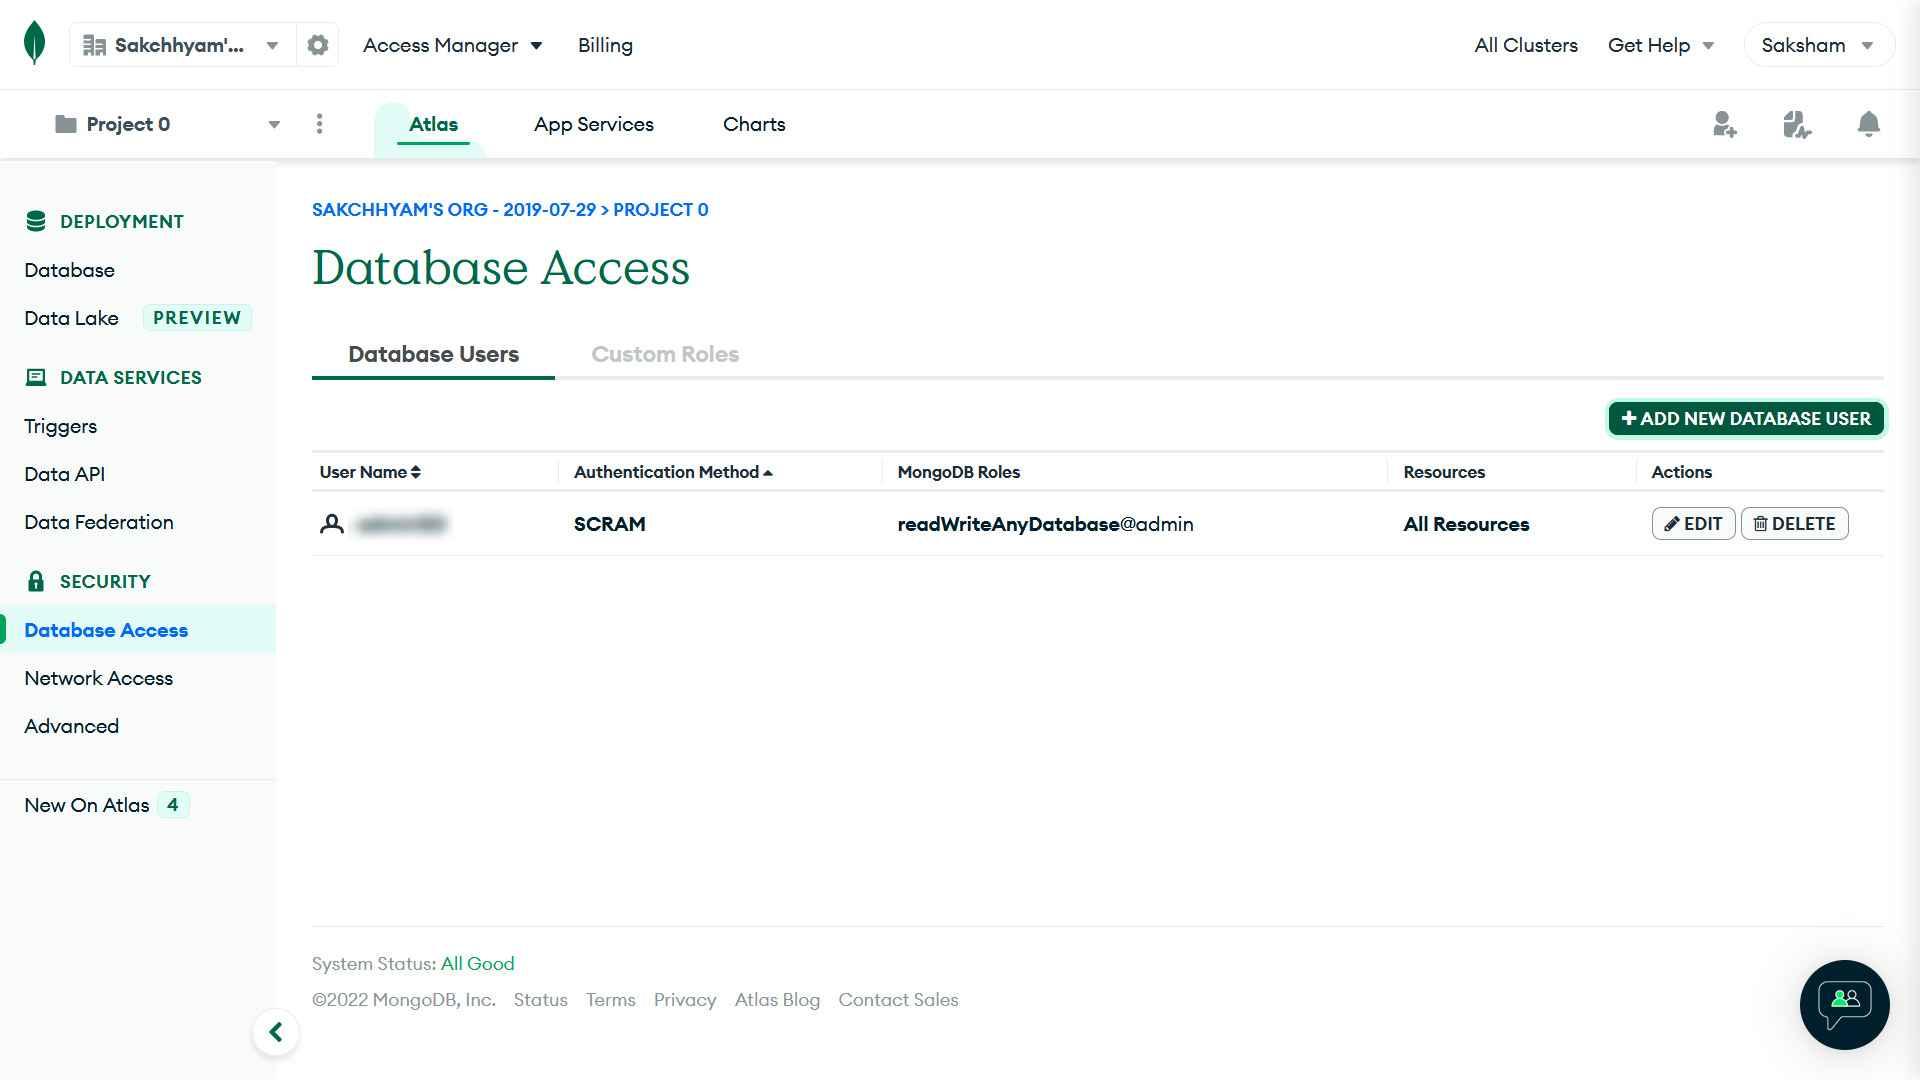
- Select +ADD NEW DATABASE USER
- Choose Authentication Method->Password.
- Fill in your username and password.
- Under Built-in Role, select Atlast Admin
- Then click the Add User button.
Add your IP address to the IP Access List
- You should make a list of trusted IP addresses to validate access to your cluster and data.
- You should whitelist your IP address to validate your connection with the cloud service.
- From the sidebar, under Security, select Network Access.
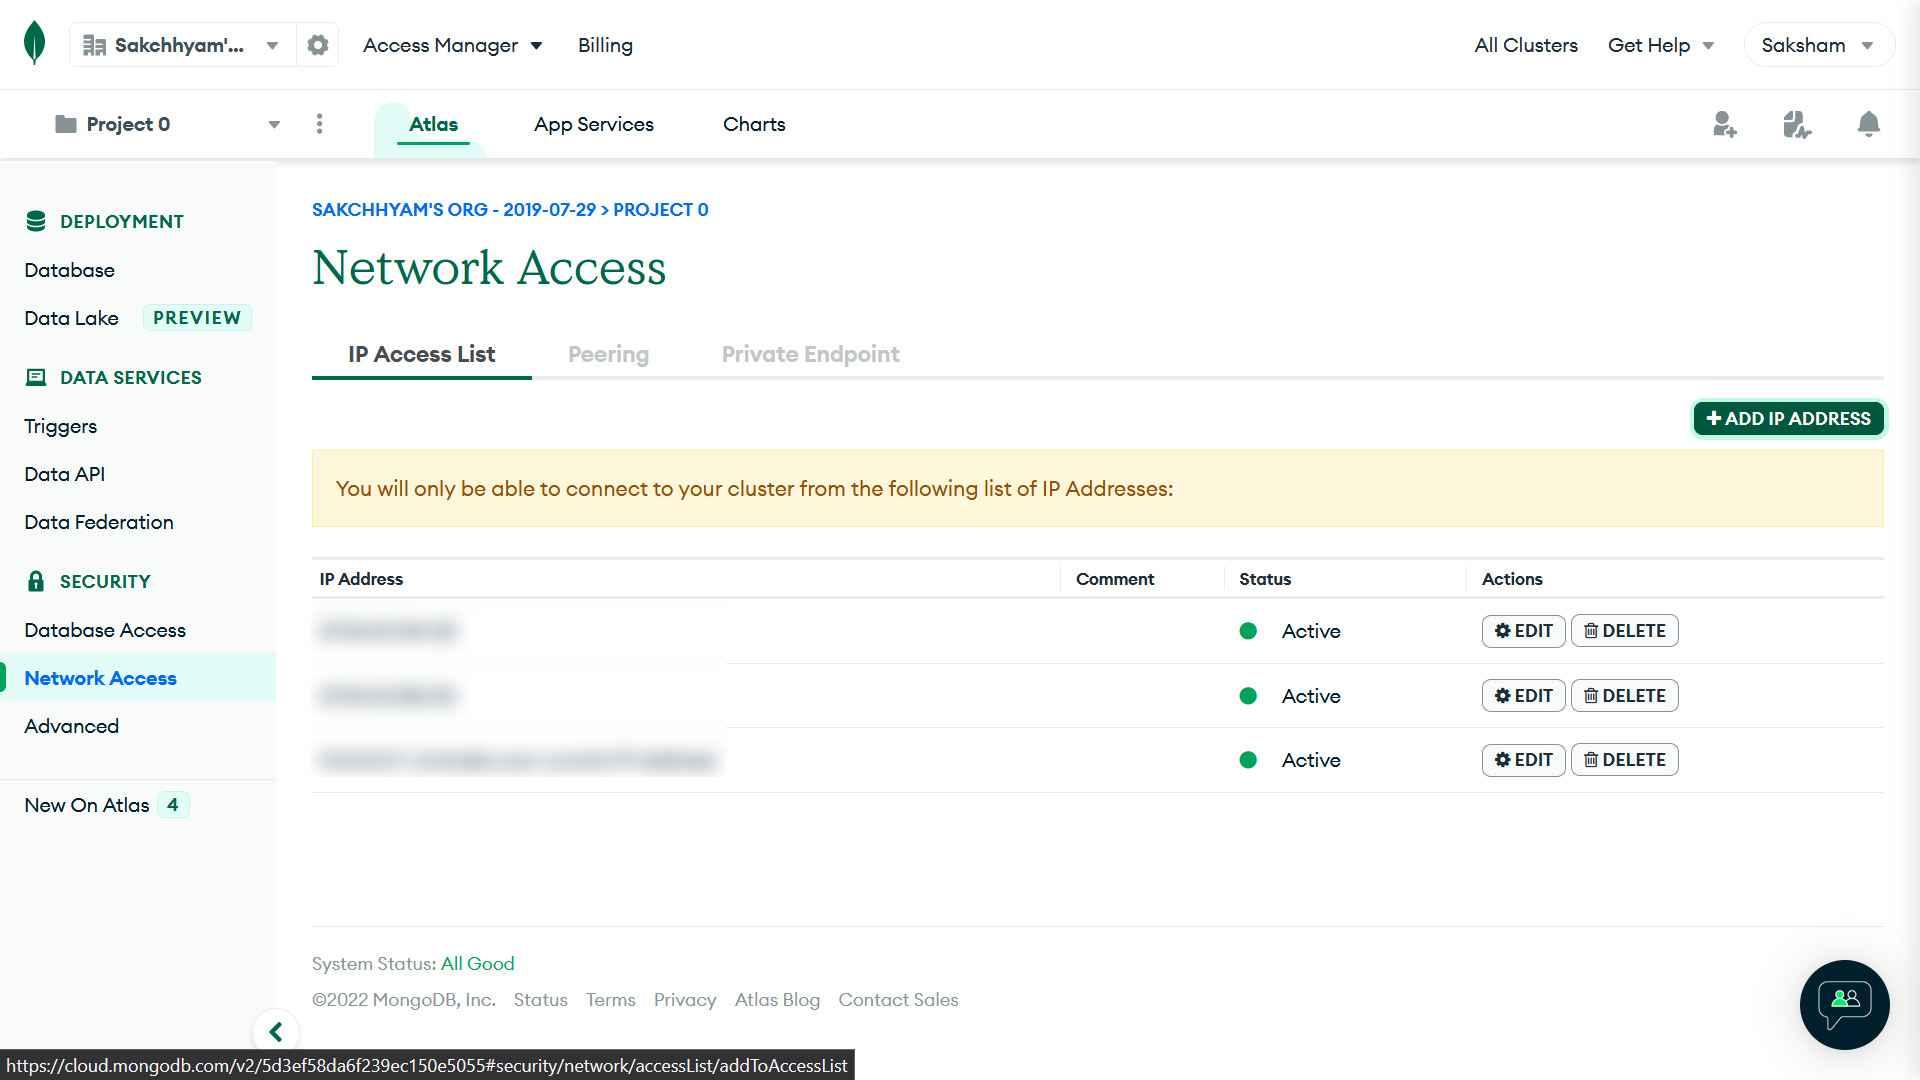
- Select +ADD IP ADDRESS
- Select the ADD CURRENT IP ADDRESS button and confirm.
Create a database in your cluster
- From the sidebar, under Deployment select Database and then your cluster name to see an overview page.
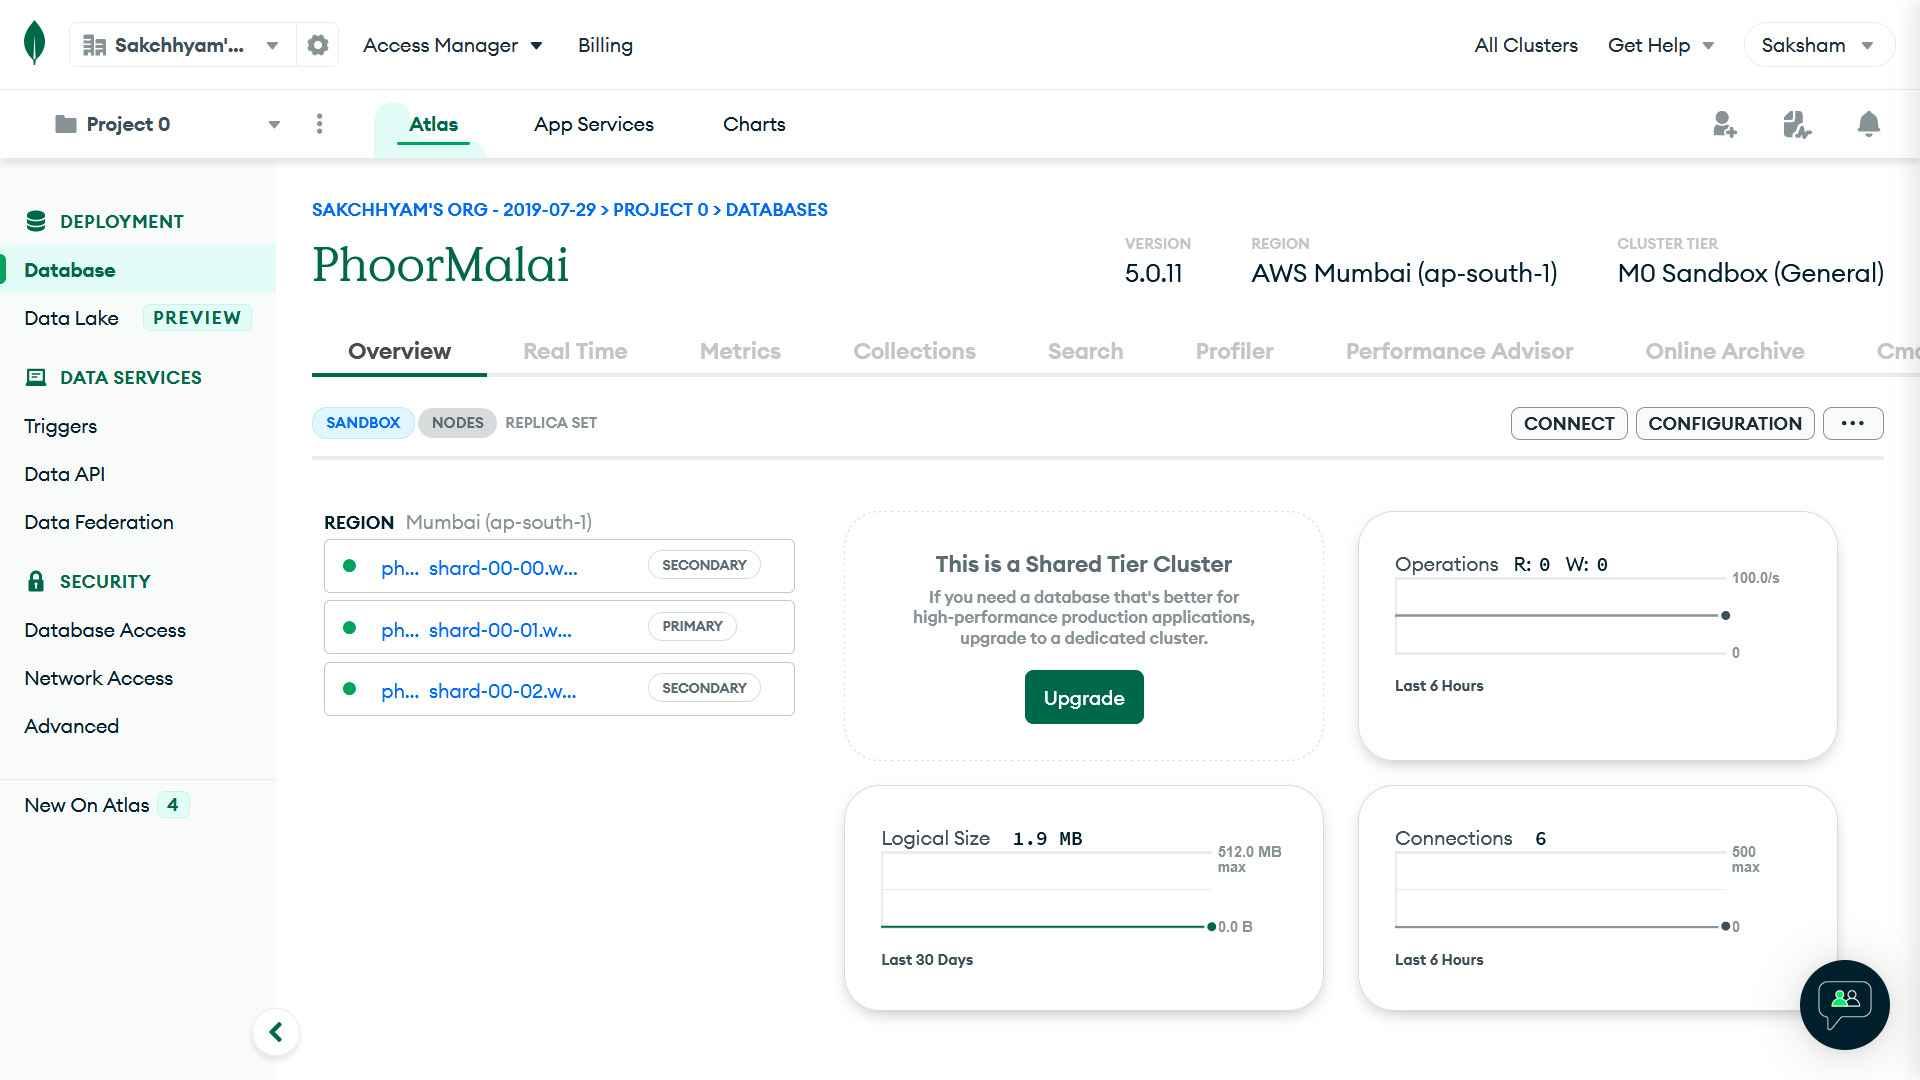
- In the cluster's overview page, select the Collections tab. Then select the +Create Database button.
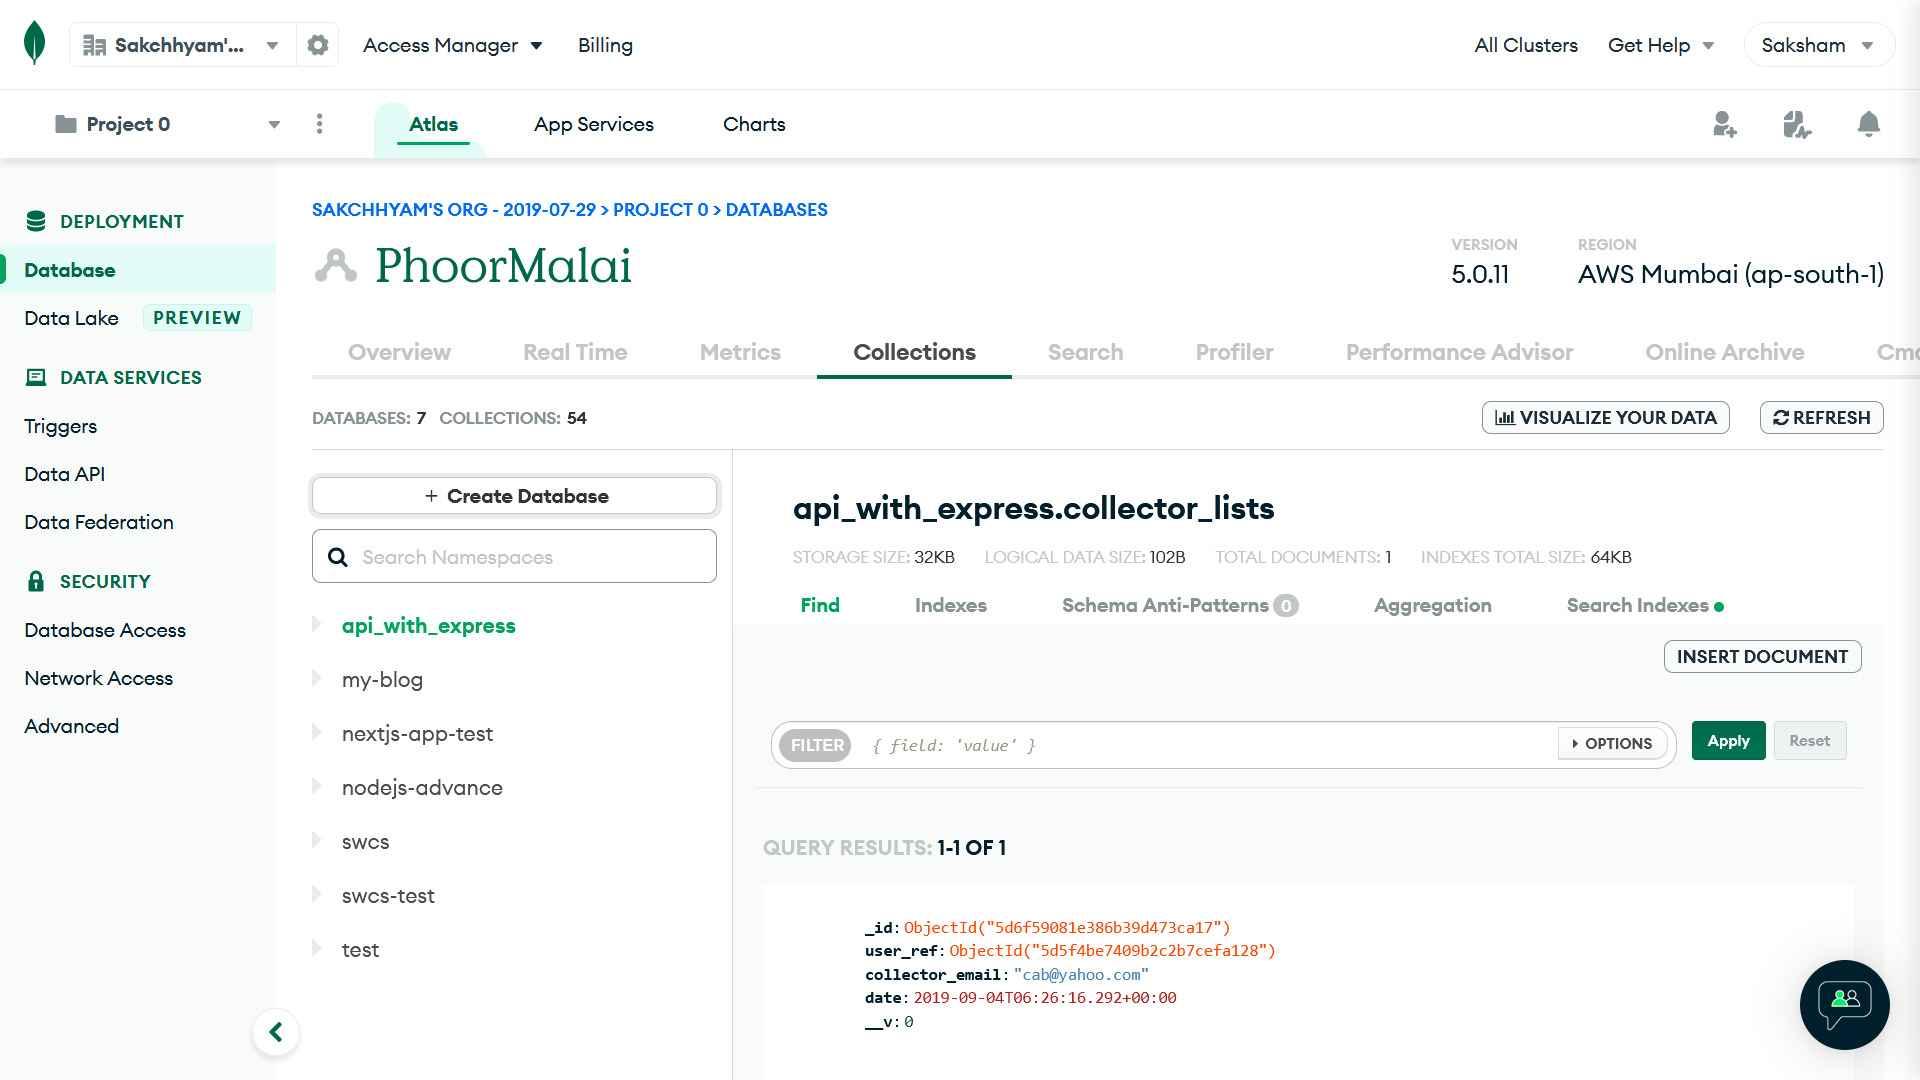
- Then fill Database Name: my-blog and Collection Name: authors

Get the connection string for cluster
- From the sidebar under Deployment, select Database and select your cluster.
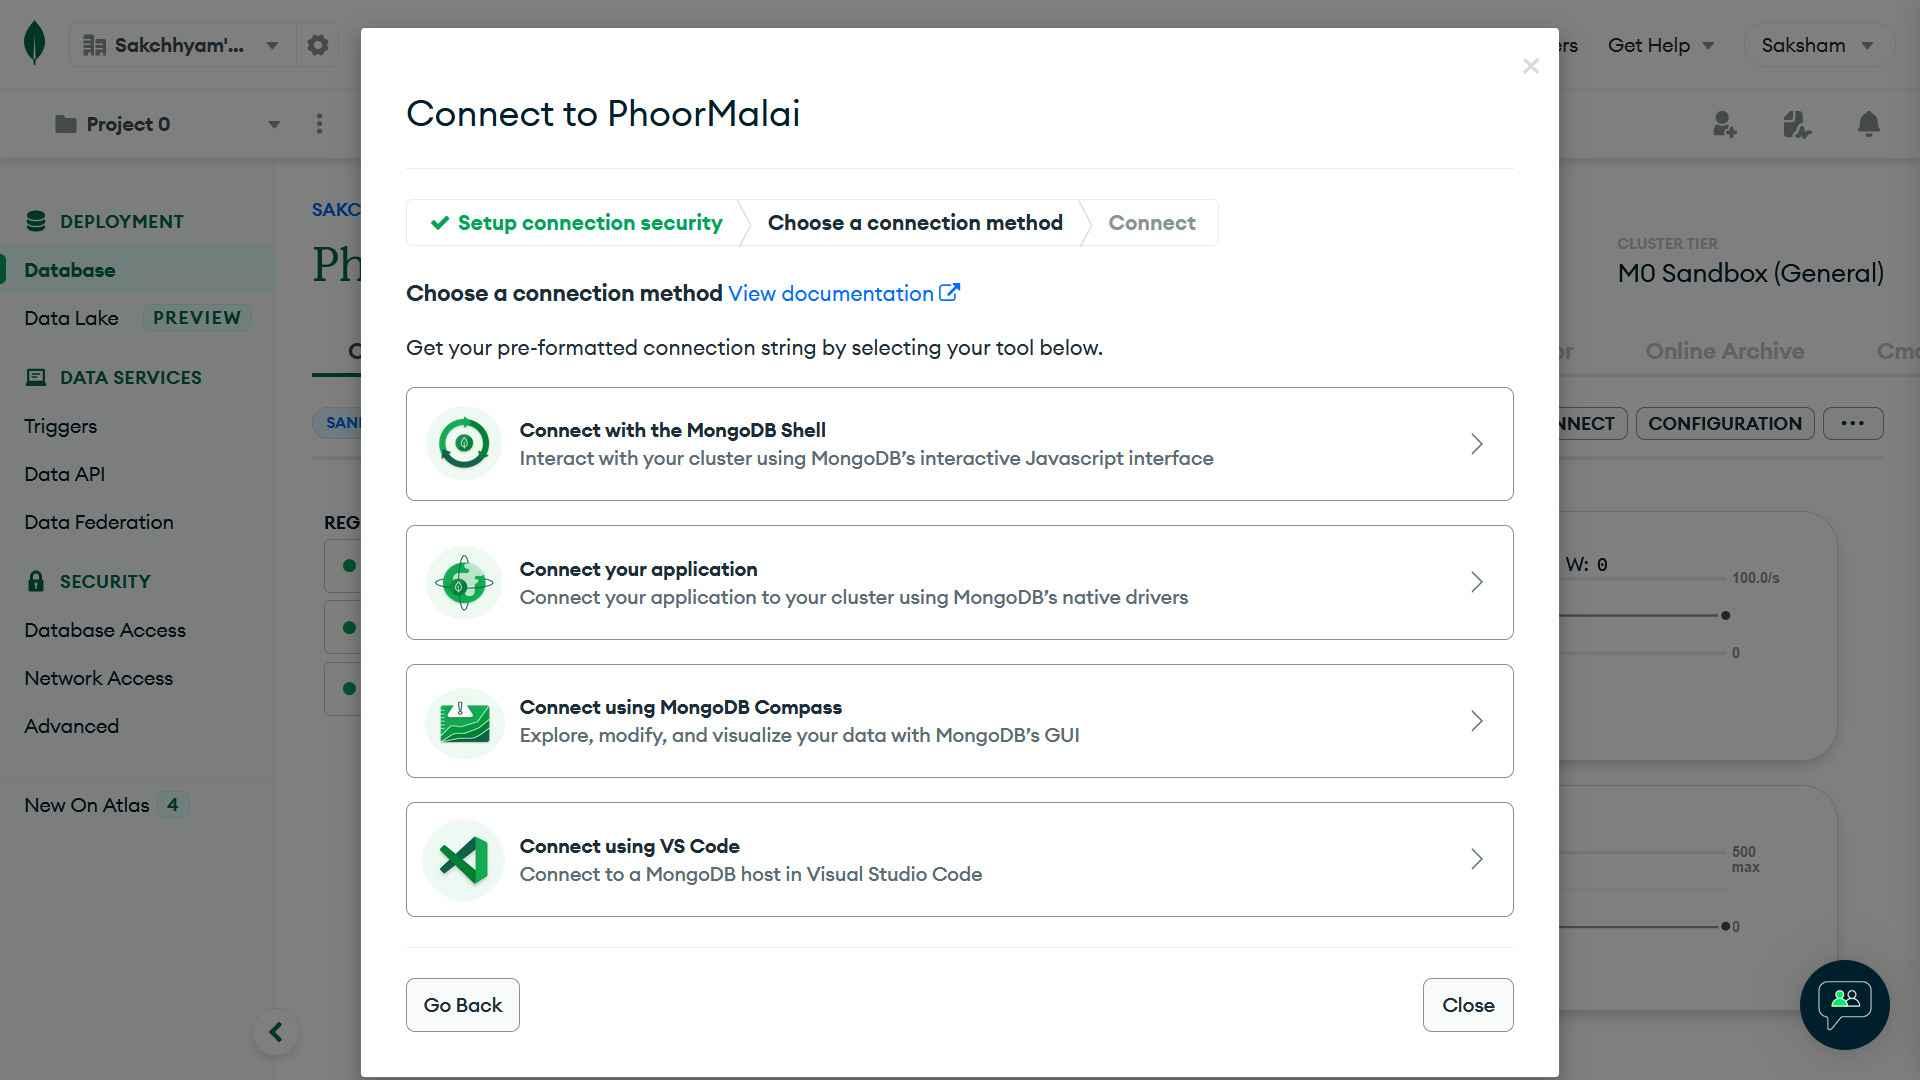
- Click Connect button
- Select the Connect your application option
- From the dropdown menu, select DRIVER and VERSION.
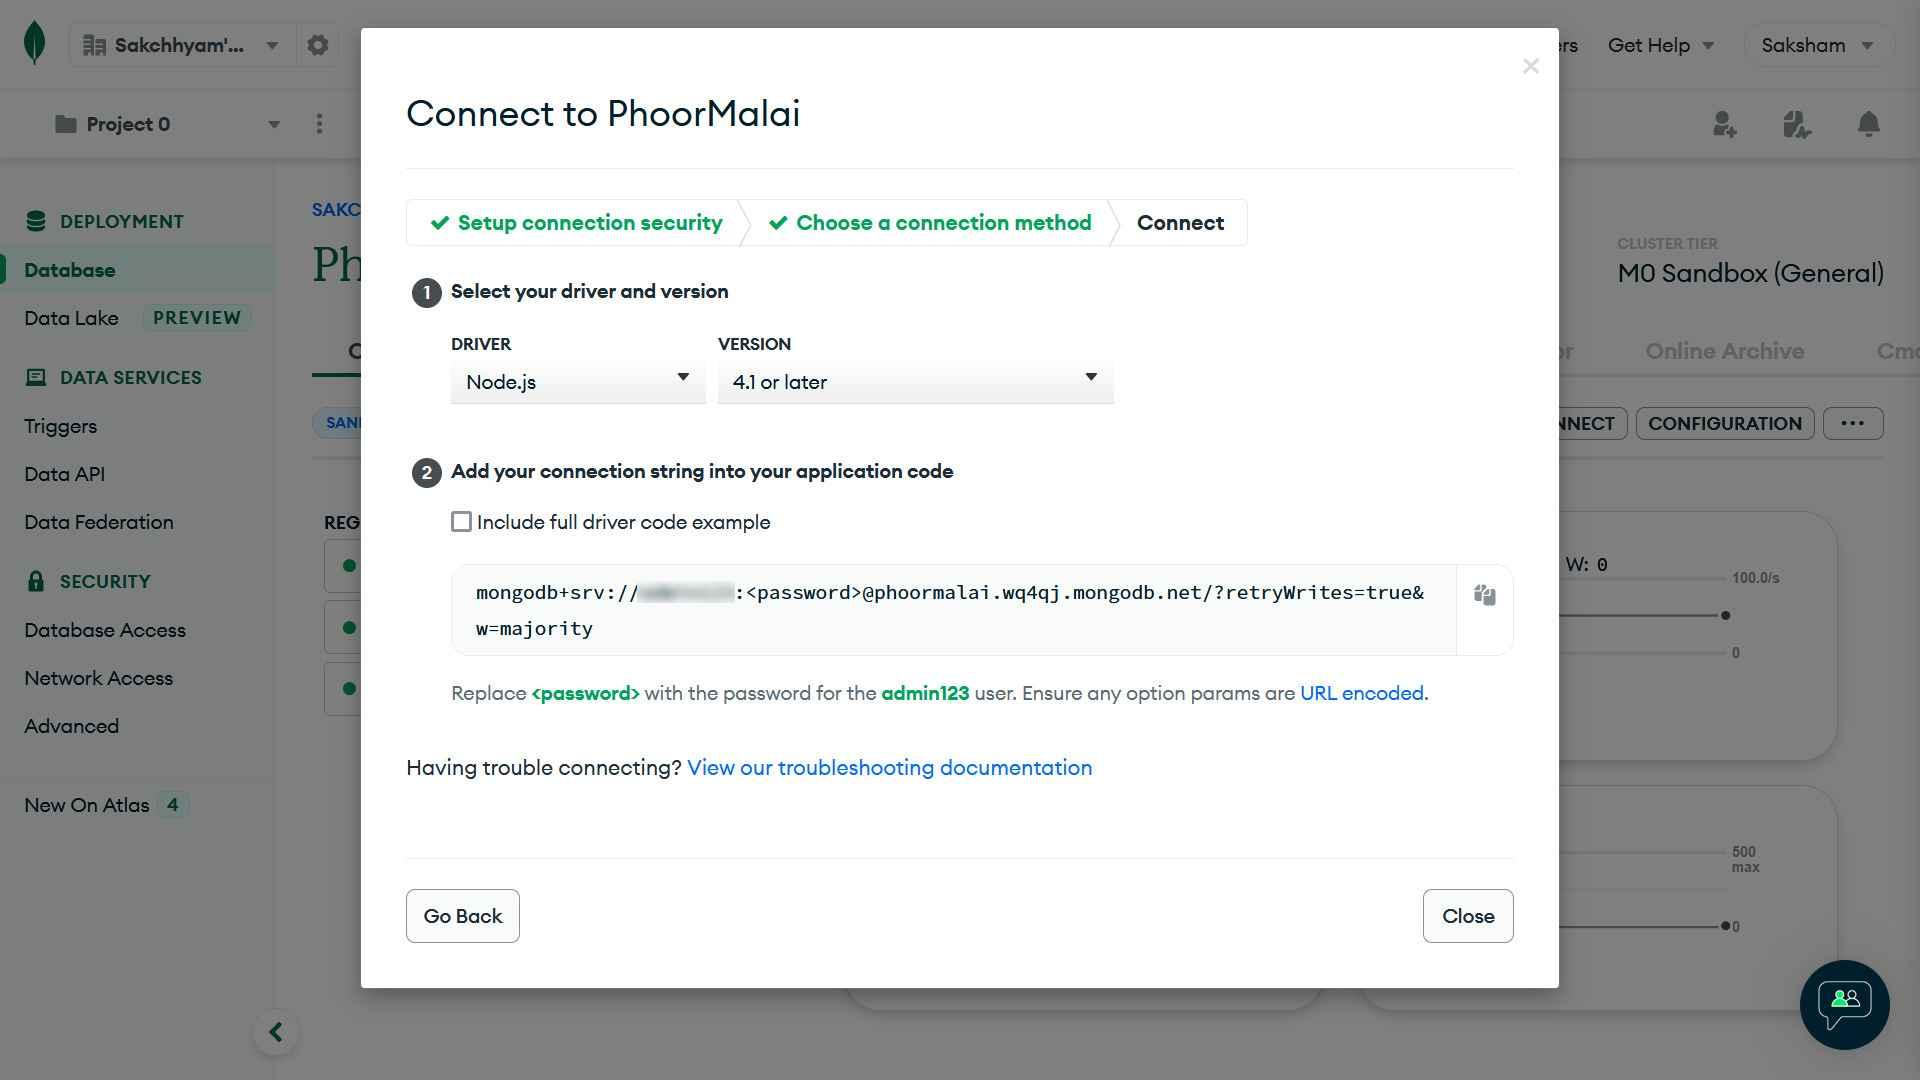
- Copy the provided connection string and go back to our project folder.
Connecting Node.js project with MongoDB
Configure the connection string
-
Open your Node.js project and place the above connection string in your
.envfolder like this:# .env MONGODB_ATLAS_URL="mongodb+srv://<username>:<password>@<clusterName>.wq4qj.mongodb.net/?retryWrites=true&w=majority" -
Now replace
<username>and<password>with the credential of the database user. -
<clusterName>will be there already. -
Add the database name after
mongodb.net/. Since we have created a database namedmy-blogour config will look like this:# .env MONGODB_ATLAS_URL="mongodb+srv://<username>:<password>@<clusterName>.wq4qj.mongodb.net/my-blog?retryWrites=true&w=majority" -
Navigate to the
src/config.jsfile and add the following line in our export:1//... 2module.exports = { 3 port: parseInt(process.env.PORT, 10) || 5000, 4 remoteDatabaseURL: process.env.MONGODB_ATLAS_URL, 5};
Using the connection string
-
In Node.js project navigate to the
srcfolder and create aconnectDB.jsfile. In this file, we will use the connection string to establish connection with our MongoDB atlas database. -
Place below code snippet:
1const mongoose = require("mongoose");
2const config = require("./config");
3
4const connectDB = async () => {
5	try {
6		// using connection string
7		await mongoose.connect(config.remoteDatabaseURL);
8	} catch (error) {
9		console.error("Error connecting MongoDB: ", error);
10		process.exit(1);
11	}
12};
13
14module.exports = connectDB;
What are Schema and Models?
The schema of a collection describes fields, field types, and other metadata for that collection. It is a blueprint for collection or any database entity.
From schema, we can create a constructor called Model. An instance of a model is called a document. Models are responsible for creating and reading documents from the underlying MongoDB database. Let's code to understand the concept.
Code
We will have two collections under the database my-blog: authors and posts. For this first, we will create the schema for each collection and export the model for each schema.
-
From your Node.js project root navigate to the
srcfolder and create two folders:authorandpost. Each folder will contain all layers for each collection. -
Create a
schema.jsfile inside both theauthorandpostfolder. -
The Node.js project structure will look something like this:
src/
├─ author/
│  ├─ schema.js
├─ post/
│  ├─ schema.js
├─ config.js
.env
package.json
server.js
author schema
-
From mongoose, we are using the
Schemaclass to define a schema for the author. -
The author schema will have a name, bio data, and an array of social media links.
-
Then we will create a model using schema and export it.
-
Initiating the author model will provide the necessary functions to read and write the author's documents in MongoDB database.
1// src/author/schema.js
2const mongoose = require("mongoose");
3const Schema = mongoose.Schema;
4
5// creating schema for author
6const schema = new Schema(
7	{
8		name: {
9			type: String,
10			require: true,
11		},
12		bio: {
13			type: String,
14		},
15		// defining array structure
16		socialMedia: [
17			{
18				name: String,
19				url: String,
20			},
21		],
22	},
23	{
24		// this will be our collection name in the database
25		collection: "authors",
26	}
27);
28
29// creating a model "Author" from the schema and exporting it to use in the services
30module.exports = Author = mongoose.model("Author", schema);
post schema
-
We will repeat the same steps with post schema
-
MongoDB creates a unique id (ObjectId) for each document. We will use the author's unique id in the post schema as
authorRef. It will be helpful to trace out the author of a particular post.1// src/post/schema.js 2const mongoose = require("mongoose"); 3const Schema = mongoose.Schema; 4 5const schema = new Schema( 6 { 7 title: { 8 type: String, 9 require: true, 10 }, 11 createdDate: { 12 type: Date, 13 }, 14 content: { 15 type: String, 16 }, 17 authorRef: { 18 type: Schema.Types.ObjectId, 19 // indicates author's model name 20 ref: "Author", 21 required: true, 22 }, 23 }, 24 { 25 collection: "posts", 26 } 27); 28 29module.exports = Post = mongoose.model("Post", schema);
Summary
- We have created a database my-blog with a collection author.
- We got our connection string and added it to our configuration.
- We have created schemas for the author and the post.
- In the next part, we will take a look at services.
- The link to the project repo is available here.